- Joined
- Dec 18, 2020
- Messages
- 929
- Thread Author
- #1
Poster Guide
How to create simple posters/media via Photopea (WIP)
So, a brief introduction: Photopea is a free, advanced, web-based image editor that runs directly in the browser and shares a similar interface and many core features with Adobe Photoshop. Because of this, it is a widely used free alternative.
It is also the software that most artisans in v2's MoE Art Department used when they did not have Adobe Photoshop or an alternative of their choice.
In addition to Photopea, there is also:
Vectorpea — made by the same company but for mimicking Adobe Illustrator instead.
Good for SVGs, logo creation, etcetera if you're already familiar with Adobe Illustrator.
Gimp — another free and open-source image editor. Requires a download and runs as a program instead of in your browser.
Among others.Among other important resources are:
Google (or any browser) — for finding textures, resources, images, and more.
TextureLabs - an online repository dedicated to textures and techniques for art and design.
Brusheezy — for finding brushes among other things.
YouTube — for finding tutorial videos.
Expectations.
When getting into media creation, it is important to understand that with any program, it takes time to familiarize yourself with it and learn.
A lot of Photoshop is entirely skill-based; a guide isn't going to help anyone any more than personal experimentation, creativity, & familiarity, other than providing general tips & knowledge/resources.
With that said, the purpose of this guide is to illustrate how to get started, as well as give you a sense of direction and familiarity with the program to create basic media when getting started.
Before we begin, it helps to have some familiarity with Adobe Photoshop & Photopea's UI (they are arguably the same). I recommend watching a tutorial on YouTube for this.
How to get started?
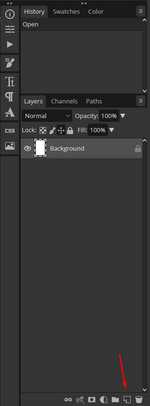
To get started, create a new project.
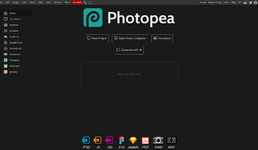
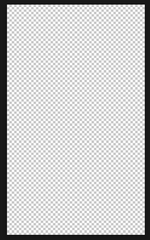
Most posters on Willard are created in an A0-A4 0.7:1 or 2:3 aspect ratio; however, you can use any aspect ratio you like. For my poster, I will be going with a 0.6:1 or 3:5 aspect ratio.
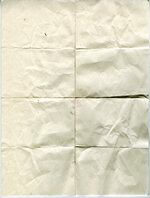
Now, we have an empty project. The first thing we want to do is import a texture image to serve as our base layer; because this is a poster, we want this to be a paper texture. You can find these online or at TextureLabs.
For this example, I have already chosen my paper layer. To import an image, you can either copy & paste it in and resize it or go to [File] and [Open & Place] to import it from your PC.
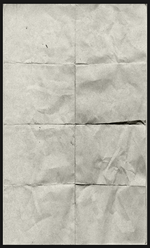
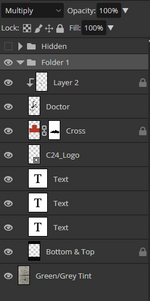
We can either clip this layer to our base layer (which means it'll only show on the non-transparent parts of our base layer), put it in a folder, or leave it alone.
For convenience and cleanliness, I typically put it in a folder.
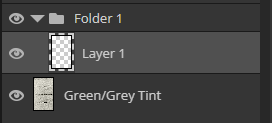
Next, we want to set that layer's (or folder's) blend mode to multiply. This will allow the paper texture beneath to show through and give anything we put on our canvas a nice paper texture.
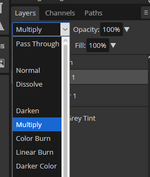
There are a bunch of blend modes to choose from, but for the canvas and base layer, we want to stick to multiply; it helps to experiment with them later on when you're in the later canvas stages to get some nice effects.
Now that we've finished setting up our canvas and base layer, let's actually start making a poster. This is the hardest part, only because it's the most creative part— the process by which is entirely up to you.
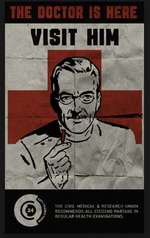
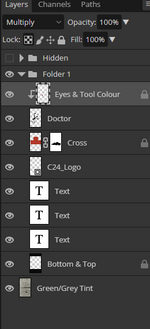
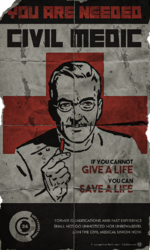
(Hawke's grunge work is truly unmatched)
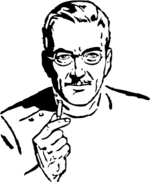
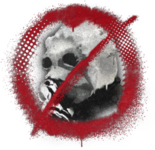
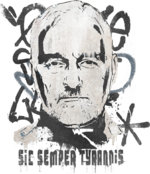
Here's a quick 10-15 minute recreation of Hawke's original CMU poster.
Now, let's just add some grunge effects, some masking and... voila!
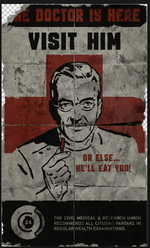
Reflection
Didn't learn much? That's alright; I'm a horrible teacher. Anything from the canvas portion beyond is entirely up to you, whether you're creating a wholly unique poster or editing a pre-existing one online.
Still, if this helped point you in the right direction, then that's perfect.
If you need any help with specific issues, let me know in the comments so that we can make this all a learning experience.
I might even include my own PSDs to give a better insight into how I make things, though everyone's style is different.
Most importantly, I'll eventually post some textures and brushes I use on my own, as well as give a more thorough insight into the creation process.
When I have time, I'll hopefully update this thread to be more helpful.
Cheers!